Create a File Upload Form for Google Sheets
Heysheet’s file upload form feature allows you to accept files from users and have them automatically uploaded to your Google Drive. A link to the uploaded file is then added to your Google Sheet, making it easy to manage all your form submissions in one place. This is a powerful feature for anyone who needs to collect documents, images, or other files as part of their form submission process.How to Enable File Uploads
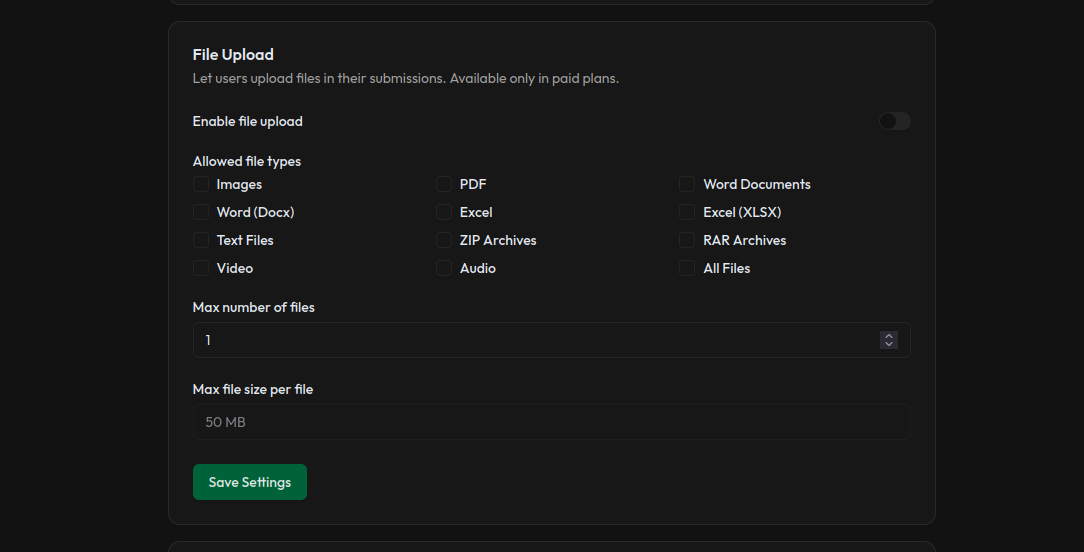
Setting up a Google Sheets file upload form is simple with Heysheet.- Navigate to the settings of the form you want to enable file uploads for.
- Toggle the “File Uploads” option to “On”.
- Specify the allowed file types (e.g., PDF, DOCX, JPG).
- Set a limit for the maximum number of files that can be uploaded per submission.
- Save your changes.
How to Add a File Upload Field to Your Form
To add a file upload field to your HTML form, simply add an<input type="file"> element. Make sure the name attribute of the input matches the column header in your Google Sheet where you want the file link to appear.
enctype of your form to multipart/form-data.
How File Uploads Work
When a user submits a form with a file, Heysheet:- Uploads the file to a secure folder in your Google Drive.
- Creates a unique, shareable link for the file.
- Adds the file link to the corresponding cell in your Google Sheet.
Use Cases for File Uploads
- Job Applications: Collect resumes and cover letters.
- Contact Forms: Allow users to send attachments.
- Bug Reports: Let users upload screenshots of the issue.
- Event Registrations: Collect necessary documents from attendees.